Notion Blocks Unlocked: Build a Workspace That Works for You
¡Hola, creative entrepreneurs — it's Jen, here with Part 2 of my Notion in Bloom Series!
Notion blocks are like digital LEGO pieces — once you understand how they work, you can build virtually anything. This guide will take you from block basics to expert Notion techniques that will dramatically improve your productivity.
If you've ever felt limited by rigid document formats (I'm looking at you, Word docs 👀) or struggled to organize information in a way that makes sense to your creative brain, Notion's block-based system is about to become your new obsession.
As a Latina business owner myself, I know we juggle a million things — client projects, content creation, team management, and somehow finding time for our families. That's exactly why mastering these building blocks will be a game-changer for your workflow.
What you'll learn:
- The essential block types every creative entrepreneur should master
- Pro techniques for manipulating blocks efficiently (no más wasted time!)
- When to use specialty blocks for specific purposes
- How to combine blocks into powerful productivity systems
- Real-world examples for designers, consultants, and content creators
Let's dive in, amiga!
Essential Block Types for Daily Use
Text Blocks: More Than Just Words
The text block is Notion's most versatile element, but most users only scratch the surface of its capabilities. Think of it as your digital notepad that can do so much more than basic typing.
Basic text formatting:
- Bold: Use text or Ctrl/Cmd+B — helps make info stand out at a glance
- Italic: Use text or Ctrl/Cmd+I — great for notes, subtext, or creative directions
-
Strikethrough: Usetextwhen ideas change - Inline code: Use
textfor technical terms - Links: Use text or Ctrl/Cmd+K
You can also create colored text by highlighting and choosing colors!

Advanced text techniques that'll make you look like a pro:
- Create colored text with highlights: Select text and use the color options
- Add inline math equations with /$ (perfect for those budget calculations!)
- Create multi-column text by dragging blocks side-by-side
When to use plain text blocks:
- For client project descriptions
- When you need flexible formatting options
- For content that doesn't fit other specialized blocks
- Brain dumps and creative writing sessions
Lists and Checklists: Organizing Information and Tasks
As creative entrepreneurs, we live and breathe lists. Notion offers several list types, each with specific advantages:
Bulleted lists (access with /bullet):
- Best for unordered information (like brainstorming sessions)
- Can be nested for subtopics
- Ideal for note-taking and creative brainstorming
- Perfect for client feedback or project requirements
Numbered lists (access with /numb):
- Perfect for sequential steps (like your client onboarding process)
- Automatically renumbers if you rearrange items
- Essential for procedures and instructions
- Great for tutorial content or course outlines
To-do lists (access with /todo):
- Adds interactive checkboxes (so satisfying to check off! ✅)
- Progress is visually trackable
- Can be filtered in databases by completion status
- Essential for project management and daily tasks
💡 Pro tip: Toggle between list types by clicking on the six dots to the left of any list item, then selecting "Turn into" from the menu. This flexibility is perf!

Toggle Blocks: The Secret to Clean Organization
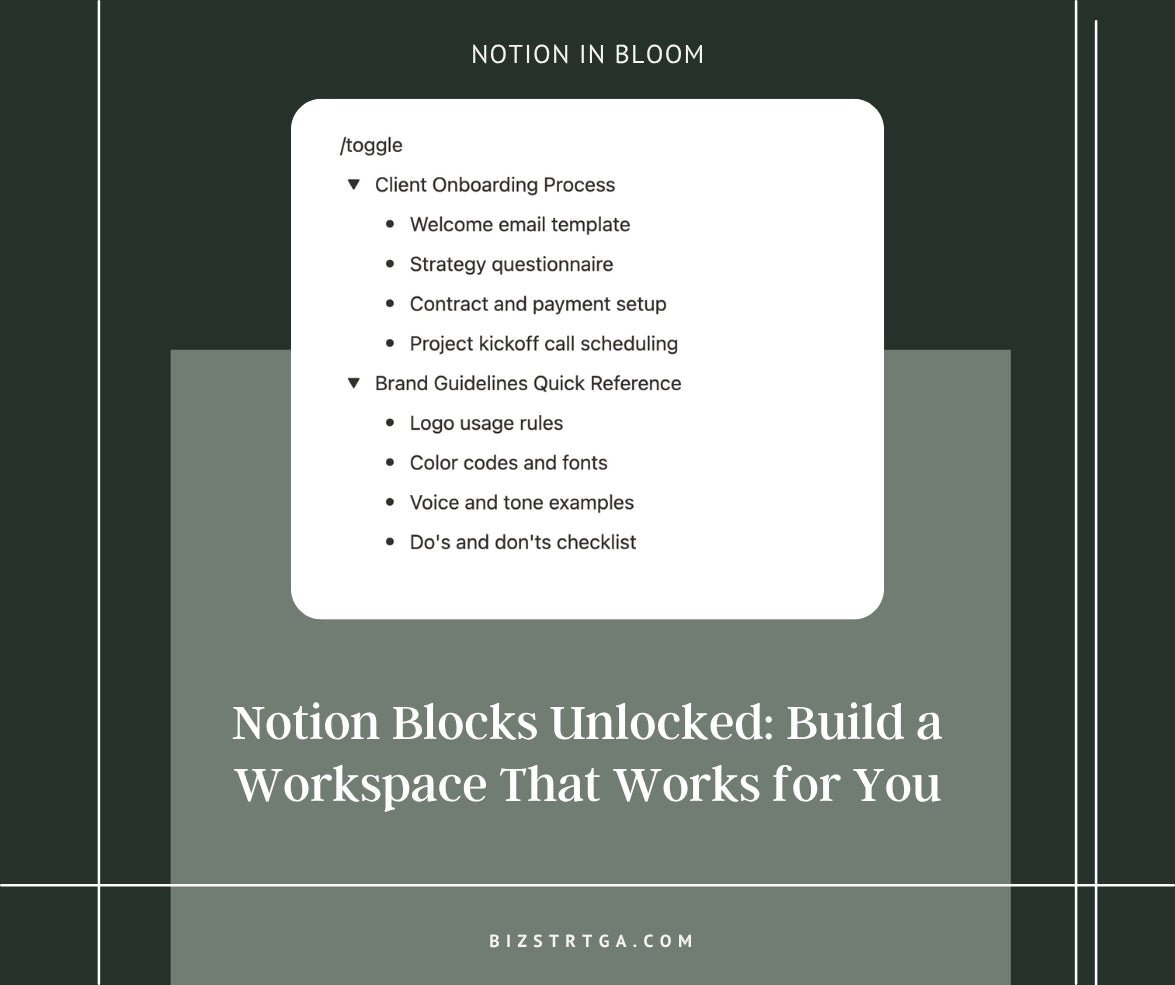
Toggle blocks are collapsible sections that let you hide and reveal content, keeping your pages clean while storing detailed information. Think of them as your workspace's best-kept organizational secret.
Creating a toggle (access with /toggle):
- Type /toggle and select "Toggle List"
- Add a descriptive title
- Press Enter and add your content inside
Creative uses for toggles (your clients will be impressed):
- FAQ sections (question as the title, answer inside)
- Project details (summary visible, details hidden)
- Reference materials (topic as title, resources inside)
- Collapsible meeting notes by date
- Client onboarding checklists
- Content calendar details
Power user move: Nest toggles inside toggles to create a collapsible hierarchy of information. Perfect for complex projects or detailed brand guidelines!

Callout Blocks: Highlighting Important Information
Callout blocks draw attention to important information with color and icons. They're like your digital highlighter that actually gets noticed.
Creating a callout (access with /callout):
- Type /callout and select "Callout"
- Choose an emoji by clicking the default 💡
- Type your highlighted information
Strategic uses for callouts:
- Important deadlines or client requirements
- Key takeaways from long content
- Special notes or project exceptions
- Personal reflections separate from factual content
- Brand guidelines reminders
- Payment terms or contract highlights
Advanced technique: Create a consistent color system for different types of callouts:
- 🔴 Red for warnings or urgent deadlines
- 🟢 Green for tips and best practices
- 🔵 Blue for examples or case studies
- 🟡 Yellow for important notes

Divider Blocks: Visual Organization
Simple but powerful, divider blocks help segment your information visually. They're like the periods at the end of sentences — small but mighty important for clarity.
Creating a divider (access with /divider):
- Type /divider and select "Divider"
Strategic uses:
- Separate major sections of client proposals
- Create visual breaks between different types of content
- Establish a consistent rhythm in long documents
- Pair with headings for clean section transitions
- Divide project phases or timeline sections
Pro tip: For a more elegant look, place a heading directly above a divider and add a small amount of space below before the next content block.
Block Pro Tips
Selecting and Moving Multiple Blocks
Most Notion beginners move blocks one at a time, which becomes tedious for larger reorganizations. Let me show you the faster way (because time is money):
To select multiple blocks:
- Click and drag: Click the six dots next to a block and drag to select multiple blocks
- Shift + click: Select the first block, hold Shift, and select the last block to grab everything in between
- Ctrl/Cmd + click: Select individual blocks that aren't next to each other
Moving block selections:
- Drag the selection using the six dots that appear on the left
- Cut and paste with Ctrl/Cmd+X and Ctrl/Cmd+V
- Use the "Move to" option in the block menu for distant destinations

Bookmarks vs. Embeds: Choosing the Right Block for External Content
Not all links are created equal in Notion! Here's how to decide whether to use a bookmark or an embed block.
Bookmark Blocks (access with /bookmark):
- Display a clean preview card of the website
- Ideal for resource hubs or link libraries
- Quick to load and minimalist in design
Embed Blocks (access with /embed):
- Interactive and let you play or view content directly inside Notion
- Perfect for YouTube videos, Figma files, Canva links, etc.
When to use each:
- Bookmark = quick preview and easy reference
- Embed = interactive display and media-rich content

Image Blocks: Visual Enhancements That Don’t Overwhelm
Images are great for explaining visual ideas, showing branding elements, or adding personality.
To insert images:
- Type /image or drag and drop
- Resize or align as needed
- Add captions below the image for context
Best practices:
- Use consistent image sizes
- Add captions for clarity
- Keep them clean — Notion works best with minimal clutter

Code Blocks: Not Just for Coders
Code blocks help you format anything from CSS and formulas to detailed instructions.
To create one:
- Type /code and paste in your snippet
- Choose a language for syntax highlighting (optional)
Creative ways to use code blocks:
- CSS/HTML snippets
- Keyboard shortcut cheat sheets
- Copy-paste instructions for clients

File Uploads: Smart Ways to Store & Share Files
Notion lets you upload and organize PDFs, docs, images, and more.
Use cases:
- Store contracts or invoices
- Add downloadable guides
- Share brand kits or project deliverables
Tips:
- Keep file names clean and consistent
- Consider using Google Drive for large files

Slash Command Menu: Your Magic Productivity Wand
The / command unlocks every block type instantly — no mouse needed!
Type /todo, /table, /heading, or anything else — and Notion will suggest the block you’re looking for.

Troubleshooting Common Block Issues
Why Your Formatting Sometimes Breaks
Common problems:
- Copy/pasting from Google Docs or Word adds hidden formatting
- Inconsistent block types (e.g. half a list is to-do, half is bullet)
- Line breaks vs new blocks
Quick fixes:
- Use “Paste and Match Style” (Cmd/Ctrl + Shift + V)
- Convert blocks using the six-dot menu → “Turn Into”
- Use headings and dividers to structure visually
Blocks Won’t Move Where You Want?
Usually because:
- You’re trying to drag a block into a space too narrow
- You’re attempting to nest incompatible blocks (like columns inside toggles)
- The page format (full-width vs not) limits your options
How to fix it:
- Switch the page to full-width (click the ⋮⋮ menu in the top-right)
- Use Shift+click to select and move groups of blocks
- Use the “Move To” menu option instead of dragging
What’s Next: From Blocks to Databases
Now that you understand how blocks work, you’re ready for the next level: databases. That’s where Notion turns from a digital notebook into a full-blown productivity engine.
Here’s a sneak peek of what’s coming in Part 3 of the Notion in Bloom Series:
- The 6 types of views for databases and how to choose the right one
- How each row is actually a Notion page (built with the same blocks you just learned!)
- How to create filtered views for different workflows (content calendar, client tracker, lead tracker, etc.)
- My favorite templates for service providers and solopreneurs
Stay tuned! 🌿
Join the Sip & Plan Newsletter 🌸
Want Notion tips, behind-the-scenes peeks, and Latina-powered productivity inspo delivered to your inbox every week?
Subscribe to Sip & Plan and get a free Notion Shortcuts Cheat Sheet + extras like early access to workshops, and automation breakdowns from me (Jen)!
About Jen
Hey! I’m Jen — a Notion Workflow and Systems Strategist behind Biz Strtga.
I help creative women and entrepreneurs organize their digital chaos using Notion, Apple Shortcuts, and systems that actually fit their lifestyle.
When I'm not helping clients build workflows, I’m parenting a toddler, working inside my own Notion, or binging The Office.
Want to work together? Check out my offerings!


0 comments